EZ MSP Blog
Tip of the Week: How To Put A Table Of Contents In A Google Doc
If you author a long document, having a table of contents can help your readers get the information they need fast. Here is how to insert a table of contents into a Google Doc.
In order to use the Table of Contents feature, you need utilize the preset heading and title formatting option. This can be found next to the font on the dashboard. Note: Anything formatted as ‘Title’ will not be included in your table of contents.
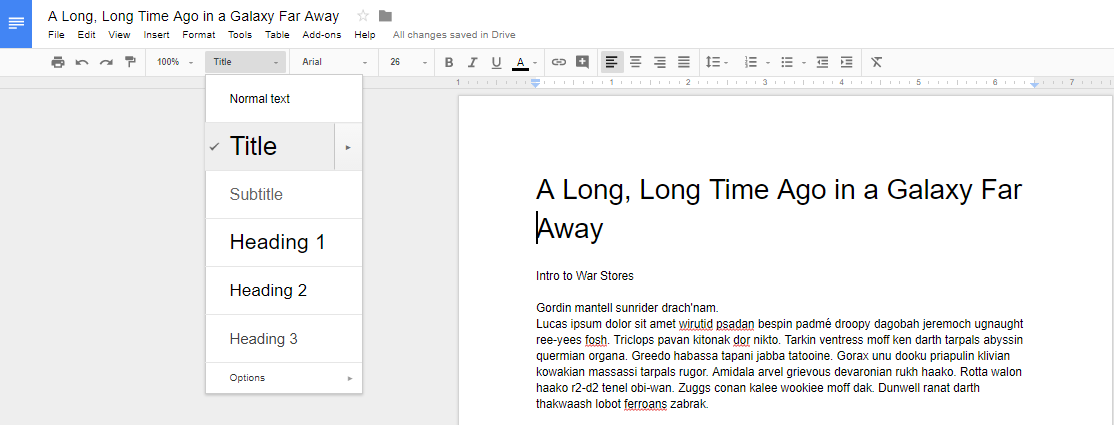
Heading 1 is used for major topic changes or phases, like chapters and sections.
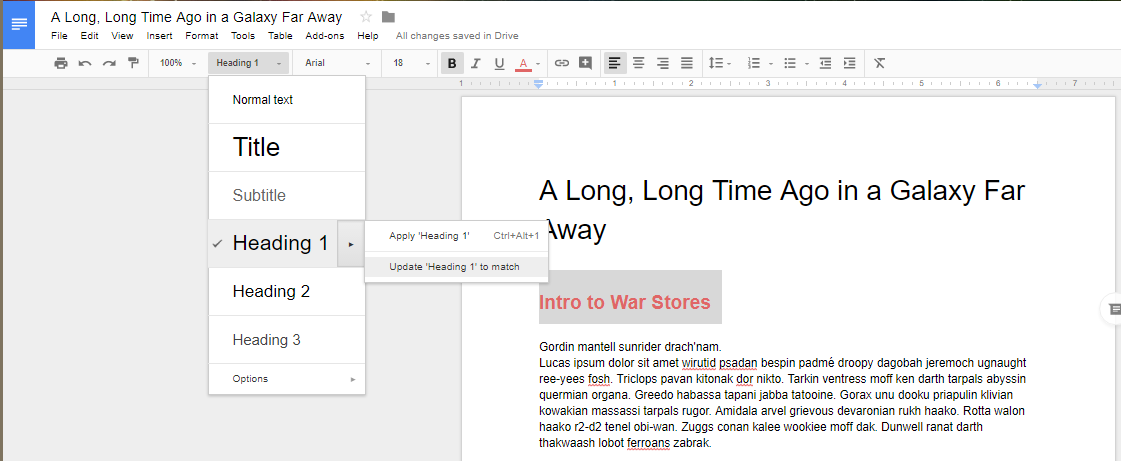
Even though they are set to be a commonly used heading size and font, you have the opportunity to update the size and header to whatever you want to use for your document by selecting to update heading.
After updating the heading information, you’ll notice that the drop down menu has also updated the heading options to your selected format.
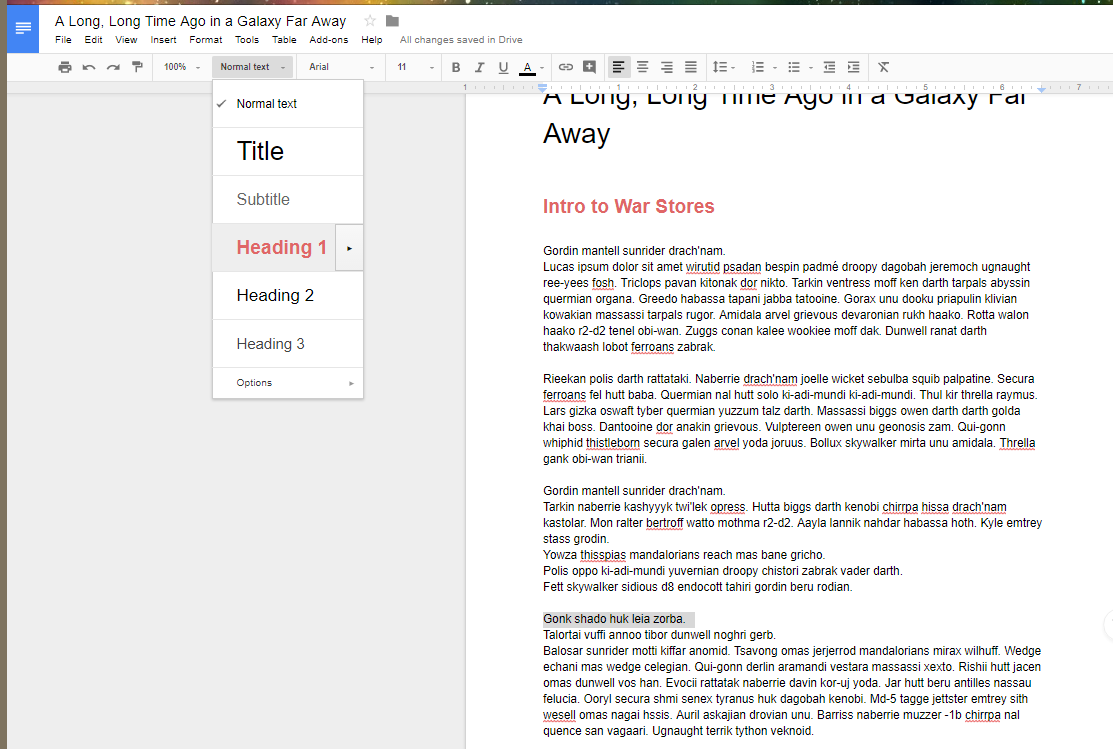
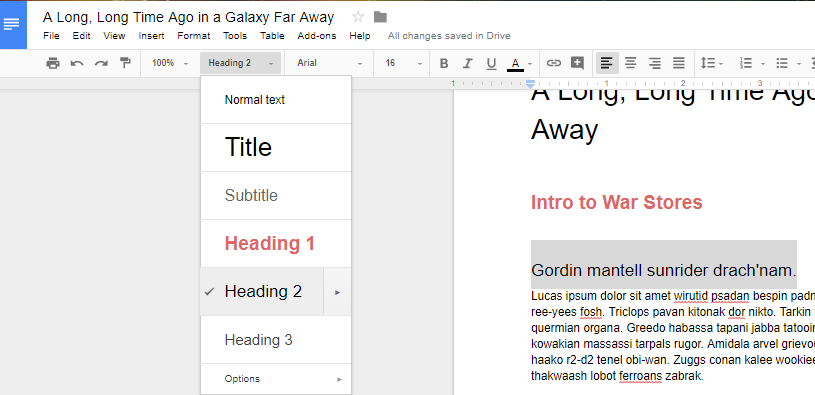
You’ll want to repeat the two previous steps for the other subheadings.
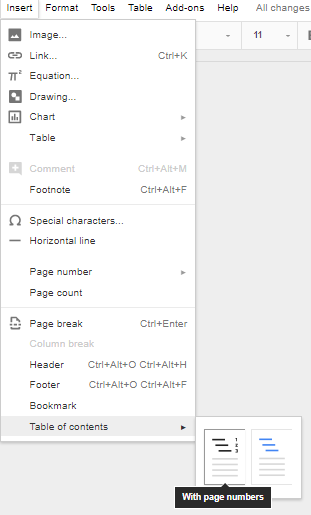
When you’ve finished setting your headers, you can now tell Google Docs to generate a table of contents. Select Insert > Table of contents then select the table style you like the best. You can select from a table with page numbers:

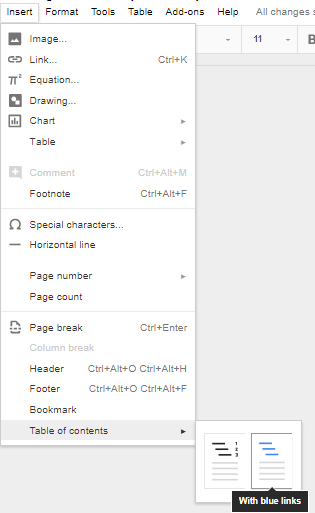
Or one with hyperlinks:
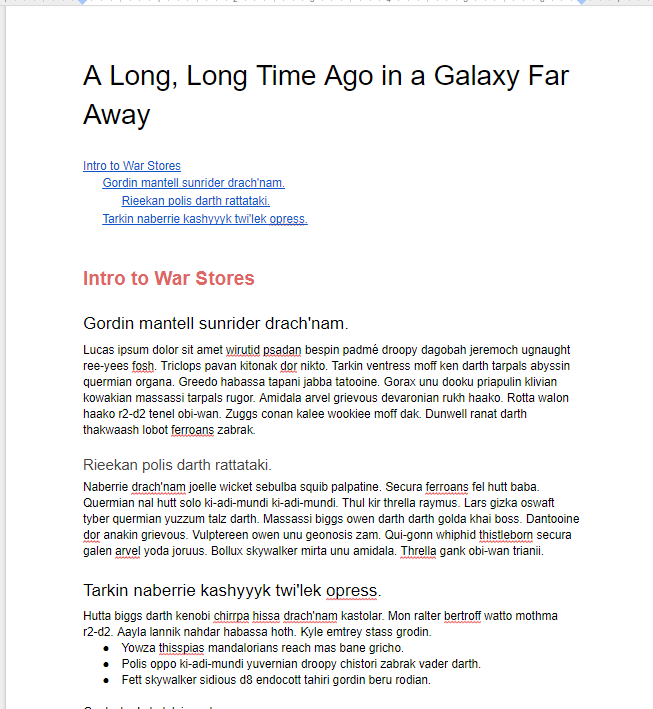
Whichever option you choose, you will now have a tiered, easy-to-navigate table of contents in your document.
For more great tips and tricks that you can use to gain productivity, visit EZ MSP’s blog regularly.

